


 ChatGPT
 Claude
 Grok
Grok Perplexity
 Gemini
You create a virtual card by opening an account, verifying your business, adding money to your wallet, then issuing a card with a set limit and rules. The card is a real Visa you make on screen, capped to the dollar amount you choose and, where supported, locked to certain merchant categories and a date window. Add it to Apple Wallet or Google Wallet to tap and pay, or use the card number for online and keyed purchases. It draws from your prepaid wallet, so there is no credit check. The same process works for one card or many, since you can create cards in bulk from an Excel file or the API.
Most people searching for how to make a virtual card want two things: a card they can use today, and the confidence that it will only spend what they intend. A virtual card delivers both. You set a limit and rules first, then hand out the card, so spending stays inside the lines you drew.
Below is the full walkthrough: what a virtual card is, the five steps to create one, the rules you can set, how to make many at once, and the questions people ask before they start. If you want the background first, here is what a virtual card is and how the Visa virtual card works.
What a virtual card is, in plain terms
A virtual card is a Visa card that exists as a number, an expiration date, and a CVV, with no plastic to mail. You create it on screen and use it the same way you use any Visa: tap from a phone wallet, type the number into a checkout, or read the details over the phone for a keyed order. The card face stays blank of numbers in your dashboard view, and the sensitive details are shown only where you need them.
The part that matters for control is what sits behind the card. It is funded from a prepaid wallet, not a credit line, so the card can only spend the balance you load. That is why there is no credit check to create one. You also set a spend limit and, where supported, rules about where and when the card works, so the card carries its own guardrails wherever it goes.
Before you start: what you need
You do not need much to get going. Gather these so the steps move quickly:
- Your business details. Your legal name, business name, and the standard information any regulated financial product asks for at signup.
- A way to fund the wallet. Usually a linked bank account, since the wallet is what the card spends from. No credit line is involved.
- A plan for the card. A name, a dollar limit, and any merchant-category or date rules you want, decided before you create it. This is faster than editing after the fact.
There is no credit application and no hard credit check to create a card, because the card is wallet-funded. Standard identity verification still applies to you, the business owner, when you open the account.
How to create a virtual card in 5 steps
Start to finish, this is a short process once your account is set up. The steps run in order, because each one unlocks the next: you cannot fund a wallet before the account exists, and you cannot spend before the wallet is funded.
- Open an account and sign up. Sign up with your name, email, and business details. This account holds your wallet and is where you create and manage every card.
- Verify your business. Complete identity and business verification so the platform can confirm who you are and open the account. This is standard onboarding for any regulated financial product, and it protects you and your money.
- Add money to your wallet. Fund your prepaid wallet from a linked bank account. The card spends this balance, so the card can only ever spend what the wallet holds. There is no credit line and no credit check.
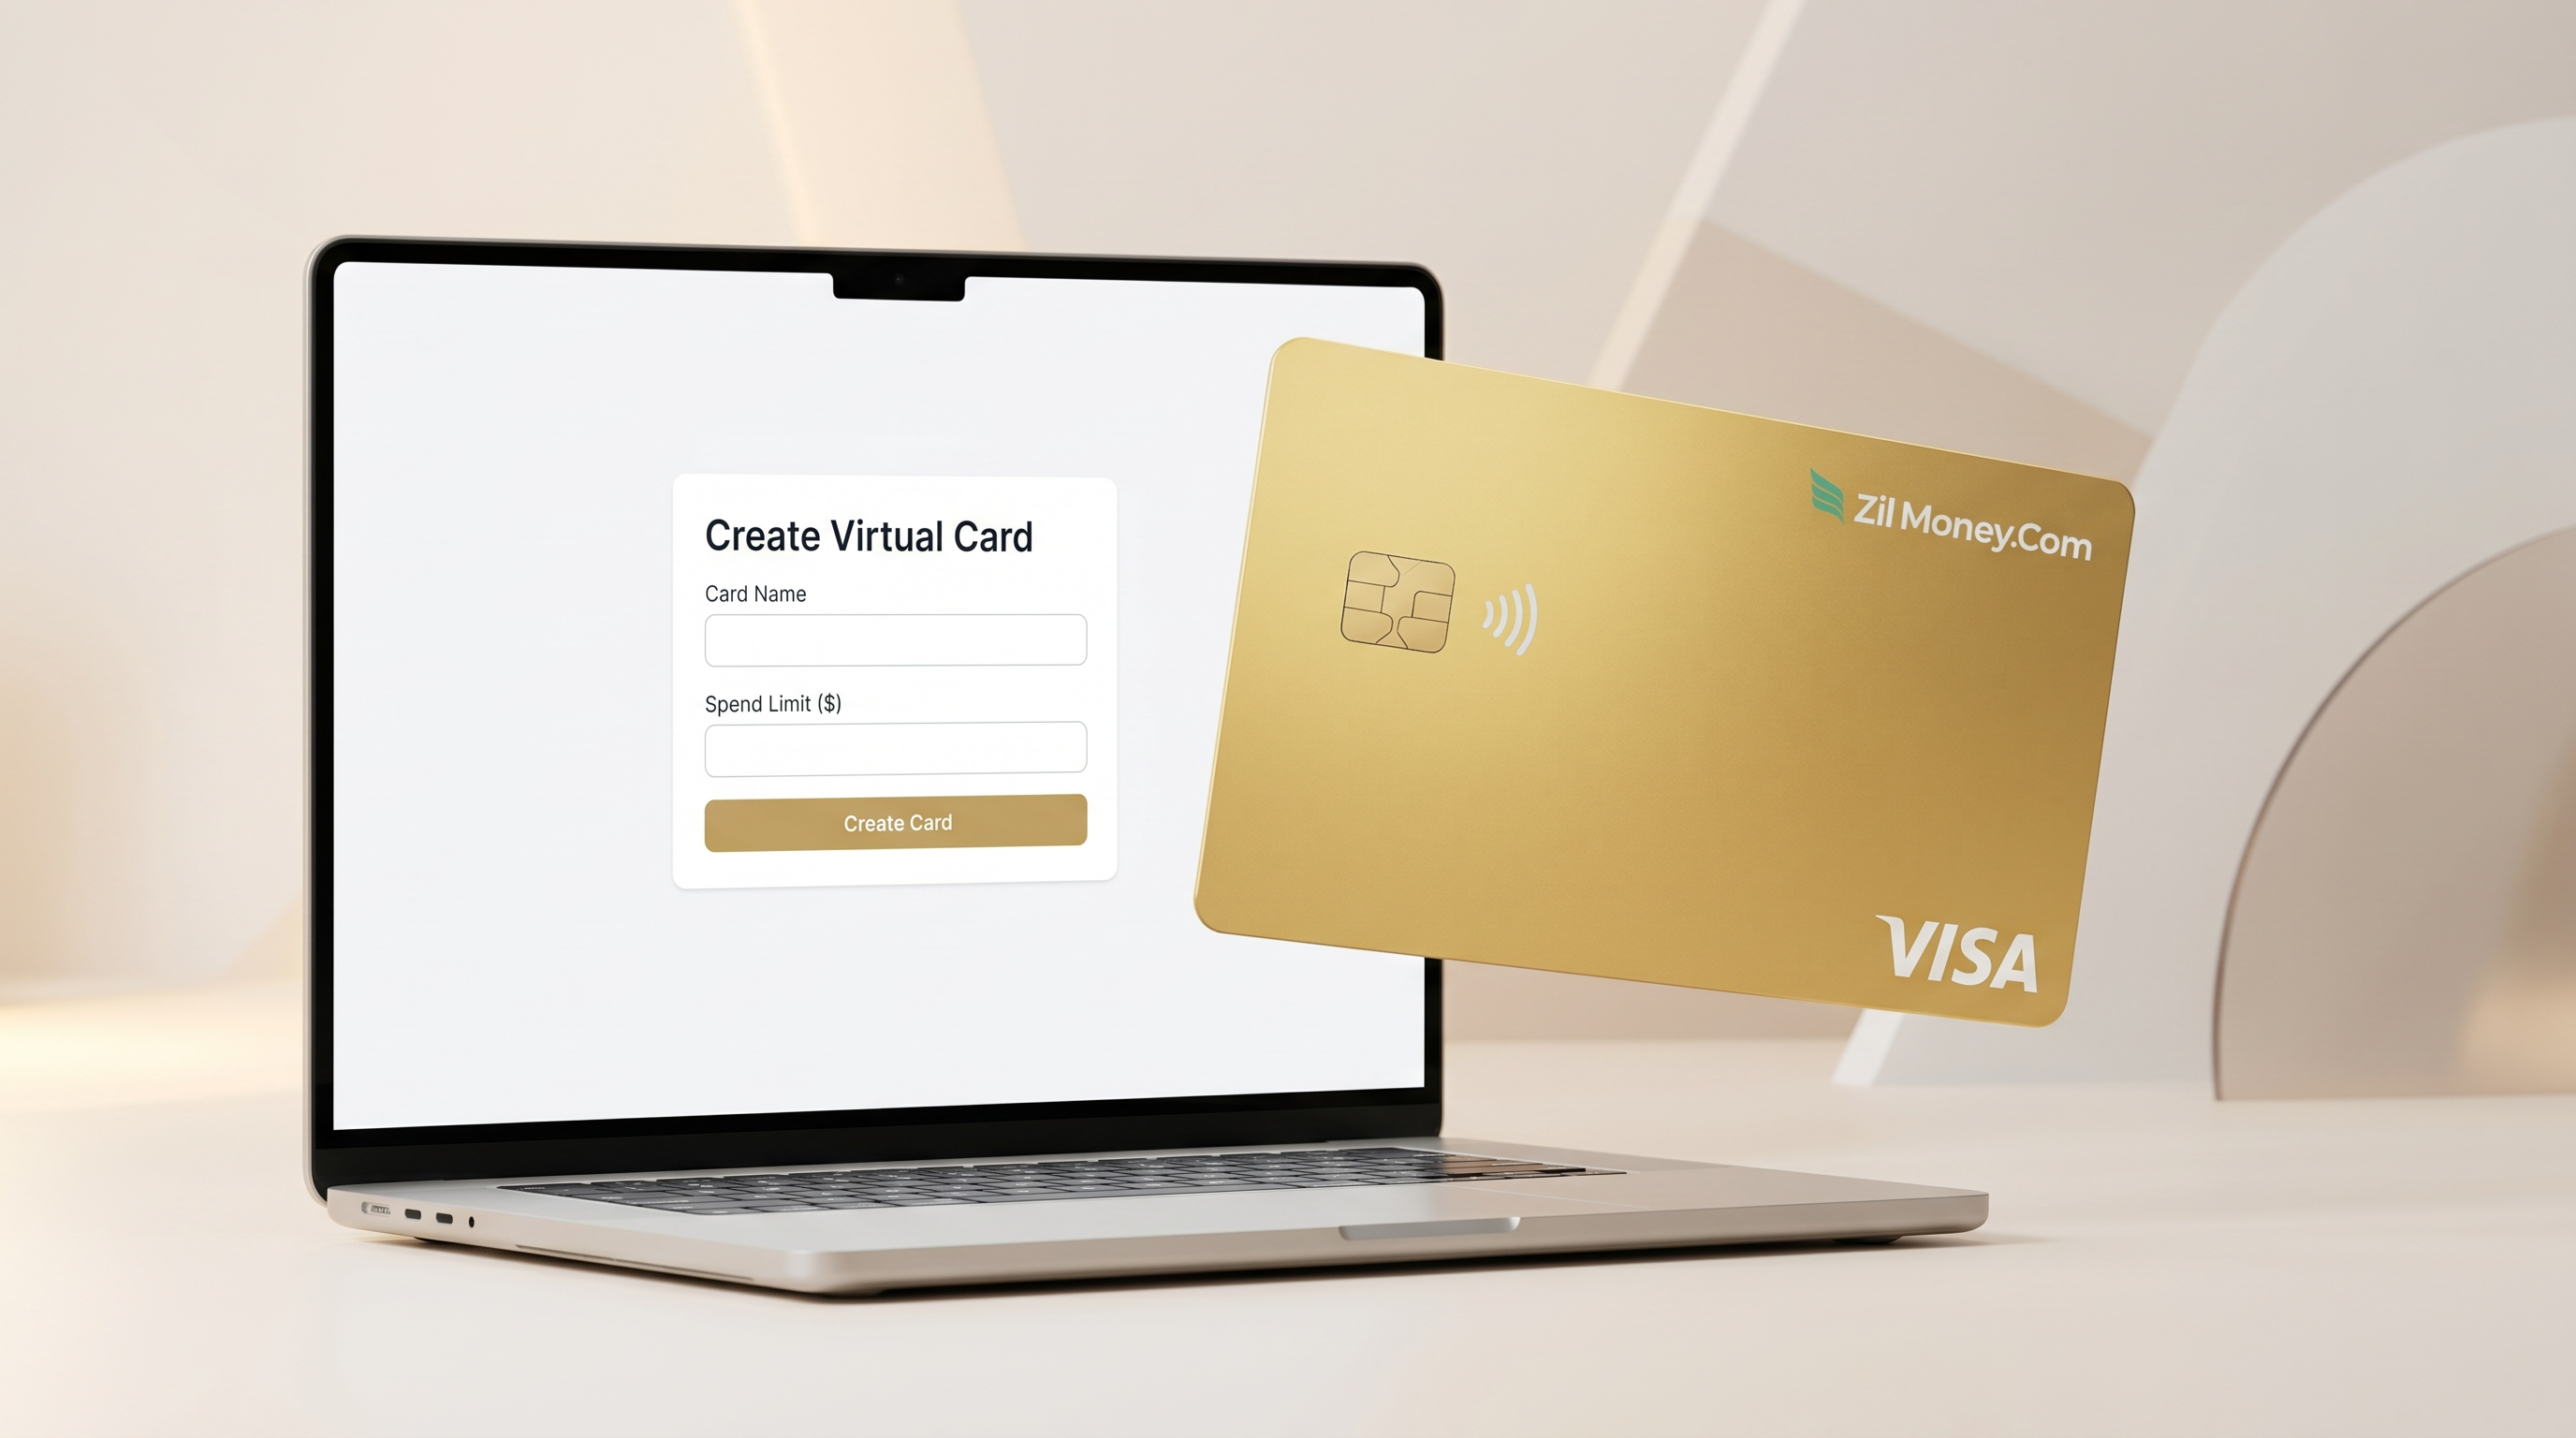
- Create the card and set the rules. Click to create a card, name it, and set the spend limit. Where supported, pick the allowed merchant categories and set start and end dates, so the card only works for the right purchases during the right window.
- Send the card and use it. Have the card emailed to the user, or add it to Apple Wallet or Google Wallet to tap and pay where contactless is accepted. The card also has a number, expiration date, and CVV for online and keyed purchases.
Step 4 in detail: the rules you set when you create the card
The create-card screen is where the control lives. You decide what the card can do before anyone spends a cent. Here is what each setting does and what it stops.
Two of these behave a little differently, and it is worth being precise. The spend limit is deterministic: a charge over your cap is declined, every time. The merchant-category lock depends on how each merchant is coded on the Visa network. The rule fires every time, but merchants are sometimes mis-categorized, so treat it as a strong filter, not a guarantee. Lead with the cap as your hard control, and use categories and dates as added guardrails on top.
What you get on day one: in Virtual Card Maker, every card has a spend limit and one-click freeze or cancel. Merchant-category and date controls depend on what your card program and the Visa network support, so check which ones are active on your account before you lean on them. You can also set custom spend limits per card, per person, or per team.
Step 5 in detail: sending and using the card
Once the card exists, there are two simple paths to put it to work.
- Add it to a phone wallet. Add the card to Apple Wallet or Google Wallet and tap to pay at the counter where contactless is accepted. There is no app for anyone to learn, and no number written on a sticky note.
- Email it or use the number online. The card can be emailed to the person who will use it. It carries a number, an expiration date, and a CVV like any Visa, so it works for online checkout, subscriptions, and keyed or phone orders. Where a counter does not take contactless, those details still get the purchase done.
For the day-to-day side of spending, freezing, and tracking once the card is live, the same logic scales whether you have one card or a stack of them.
How to create many virtual cards at once
If you need a card for each person, team, vendor, or project, you do not create them one at a time. There are two ways to do it at scale, and each card still gets its own name, limit, and rules.
| Method | Best for | How it works |
|---|---|---|
| One at a time | A single card, or a quick one-off | Use the create-card screen, set the name, limit, and rules, and you are done. |
| Excel upload | Issuing for a team or a list of vendors | Fill a spreadsheet with names, limits, and rules, then upload it to create the whole batch at once. |
| API | Building card creation into your own system | Call the API to create and manage cards programmatically, each with its own limit and rules. |
The Excel route is the one most teams reach for first, since it needs no developer. For the full walkthrough, see how to issue virtual cards in bulk. If you are setting up cards for a team or company-wide spend, start with virtual cards for small business and virtual cards for business payments to see how the per-card rules add up across an organization.
A real example: a card for a software subscription
Here is one common reason people make a virtual card: paying for a recurring online tool without exposing a main card or letting the charge creep. Say your design team needs a stock-image subscription that runs about $60 a month.
How the card is set
- Name: Design - Stock Images, so the charge is obvious on every statement
- Spend limit: about $75, a little above the $60 plan to allow for tax, with no room for an upsell to slip through
- Merchant category: the software or digital-services category the vendor uses (if your program supports category controls)
- Dates: a start date now and an end date you can extend, so a forgotten subscription cannot bill forever
What clears
- Cleared the $60 monthly charge from the stock-image vendor. Right category, under the cap.
What gets declined
- Declined a surprise $240 annual upsell pushed in one charge. Over the cap, so it stops cold and you decide whether to raise the limit.
- Declined a charge attempted at an unrelated merchant if the number leaks, where the category lock is on.
When the tool is no longer needed
Freeze or cancel the card from your dashboard and new charges stop. There is no number to rotate across other services and no plastic to recover. A charge already authorized may still settle, the way any card works.
Mistakes to avoid when you create your first card
Do not set the limit higher than you need. The spend limit is your blast-radius control. Cap it close to the real purchase and top it up later. A loose cap means a leaked or misused card can spend more before you catch it.
Do not rely on the category lock alone. Category matching depends on how each merchant is coded, so it is a strong filter, not a guarantee. Pair it with the spend limit, which is the control that always holds.
Do not create one shared card for everyone. A card per person, vendor, or purpose keeps spend easy to trace and lets you freeze just the one card that needs it. That is the whole point of making cards on demand.
What it costs and whether you need a credit check
There is no credit check to create a virtual card. The card is wallet-funded, which is the key difference from a corporate card with underwriting:
- There is no credit application and no hard credit check to create the card. The card spends your prepaid wallet balance, not a credit line.
- The person you give a card to does not need their own bank account. The card draws from your wallet, so anyone you issue to can use it within the limit you set.
- You can issue cards in bulk from an Excel file, or through the API if you have a developer, each with its own limit and rules.
On cost, you fund spending from your wallet balance, so the card spends your money against the limit you set, not a credit line. The money is yours and the limit is yours. See the wallet terms and fee schedule for balance requirements and any applicable fees before you create cards. Any tax treatment of business spending is general information, so confirm the specifics with your CPA.
People also ask
What do I need to create a virtual card?
You open an account, verify your business, and fund a prepaid wallet from a linked bank account. There is no credit check, because the card spends your wallet balance, not a credit line. The card is ready to use once the wallet is funded.
Do I need a bank account to create a virtual card?
You need a way to fund the wallet, which is usually a linked bank account. The card itself draws from that wallet balance. The cardholder you issue a card to does not need their own bank account to use the card.
How fast can I create a virtual card?
Once your account is verified and your wallet is funded, creating a card is a quick on-screen step. A new account may need 1 to 2 business days for business verification and for bank funding to clear.
Can I create many virtual cards at once?
Yes. You can issue cards in bulk from an Excel spreadsheet or through the API, each with its own name, spend limit, and rules, so a large rollout does not mean creating cards one at a time.
Can I cancel a virtual card after I create it?
Yes. You can freeze or cancel a card from your dashboard, and it stops accepting new charges. A charge already authorized may still settle, the way any card works. There is no plastic to collect.
What does it cost to create a virtual card?
You fund spending from your wallet balance, so the card spends your money against the limit you set, not a credit line. See the wallet terms and fee schedule for balance requirements and any applicable fees before you create cards.